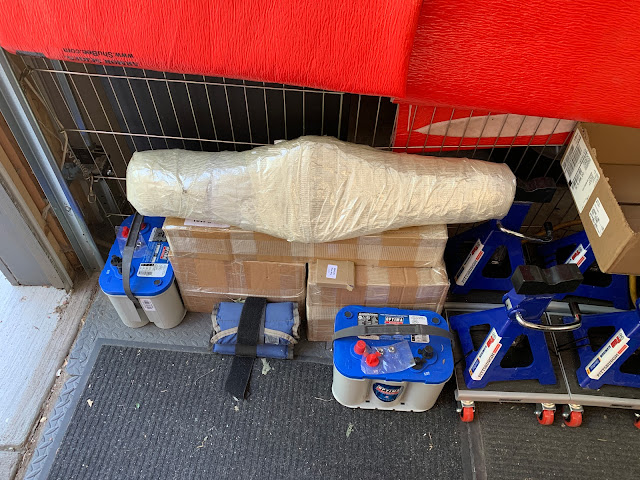
Kits 11, 12, 13.
Now that the chassis and frame are complete, I can begin to work on the engine. STW ships the engine in three kits. One would be smart to wait until all three come in. This is to avoid having to disassemble parts from Part 1 when additional pieces show up in Part 3.
The engine is a dual cylinder, double acting, high pressure, 2 1/4 diameter 3" stroke, non-condensing with a modified Hackworth valve gear. And it has lots of places to smash your fingertips.
The first thing I did was to partially unpack the three kits just to get a feel for the scope of this part of the project.
Partially unpacked.
Lots of pieces, totaling over 100 lbs. I can see where it will become uncomfortable to roll around and work on, not to mention just heavy. I would be concerned with items getting out of position, bent, damaged, or just a total PIA.
To that end, I recalled a picture from another build, where a stand was built to hold everything upright.
I pulled some scrap 2x4 pieces together and added two brackets and pieces of all-thread with some nuts.
That yielded a suitable stand, stable enough to rotate and work on all the way around. Initially, I had to fit the drive cog and crankshaft to the end of the center-tube first. After reading Grier's blog I knew that some smoothing was necessary for the fit. So that and the painting came first, then the fitting of the cranks, followed by the mounting on the stand.
Since the build instructions are organized by "Kit", I laid out the first one, looking to de-burr holes, select a paint scheme, and begin to fit parts to the main post.
The Crank Webs, Shaft, and drive cog/gear were pre-assembled. They did not want to come apart. I happen to have a gear/pulley puller from my days 50 years ago as a teenage Volkswagon owner, and it managed to pop the webs off the shaft. I have not managed to get them back on (totally) again. Not with a mallet, a monster C Clamp, or vice. The last 1/16 inch may come back to haunt me.
Paint - What gets what.
Next I needed to finalize the paint scheme for the overall vehicle. I have a copy of the history of the Locomobile from the Stanley Museum. The author went into great detail, including the paint schemes.
Obviously Black is a common base coat, then for the accent colors you will fine Red, Yellow, and Green.
I am partial to green. Hunter Green to be exact. This is a little lighter than BRG (British Racing Green) although both seem to have various formulations and subtle shadings as to be all mixed up.
I went looking and found that high-temp paints are of a couple of different types. I settled on a brand called Dupli-Color that has Engine Paint w/ Ceramic. (Ceramic what? I am not sure.) They say that the paint will withstand temperatures up to 500 Degrees F. The fact that it does not require heat treatment or long cure times was a bonus. 3 hours to handle, 24 to fully cure.
Dupli-Color has a BRG and a Gloss Black that both look great. They are enamels, which means they will paint over just about anything. The paint goes on very smoothly, quick to build up, glass finish. I am very happy with it so far.
It is at this point that having all three kits made things a little easier. I had read in Grier's blog that about 1/2 thru the engine he had to do a little disassembly when he got to kit #3. This was for the reversing control shaft and the associated bushes. I dug into the kit and got the bushes out. They pressed in quite easily. As did the main crank bearings.
To finish out this blog entry - I test fitted everything so far. Everything rotated very nicely indeed.
So - lets have a movie.
That's all for this entry.
More to come,
Thanks for reading.
PoppaPope
Denver, Colorado USA


No comments:
Post a Comment
Thank you for posting your thoughts on my build.