Just in case you were wondering, Kits 8 and 15 are just "Boiler Deposits" The Boiler comes as Kit 16.
Kit 8 - Lower Frame
So on to the Frame Assembly -
Back at the beginning I had taken the time to "dry-fit" the pieces of the frame while I was waiting for the initial chassis parts to come back from the powder coater. Now that I have sent these parts off to get coated too, it is time to add them to the overall assembly.
The time I took to prepare the pieces was well spent. Everything lined up nice and pretty with only a few assists form the trusty "dead-fall - non-marring hammer".
Here I am with a little help from visiting assistants.
After it all came together on the jack stands:
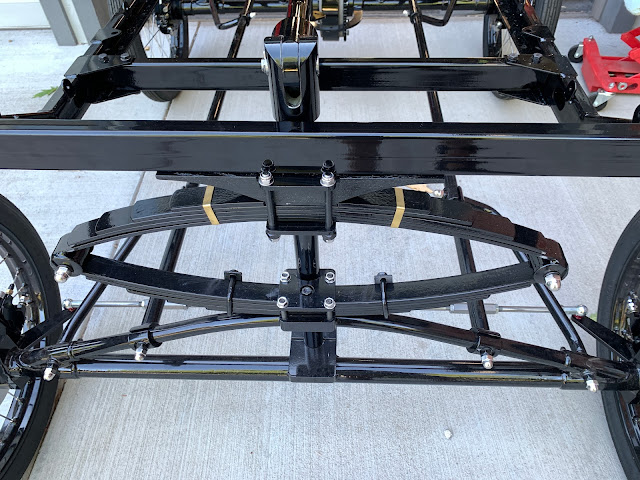
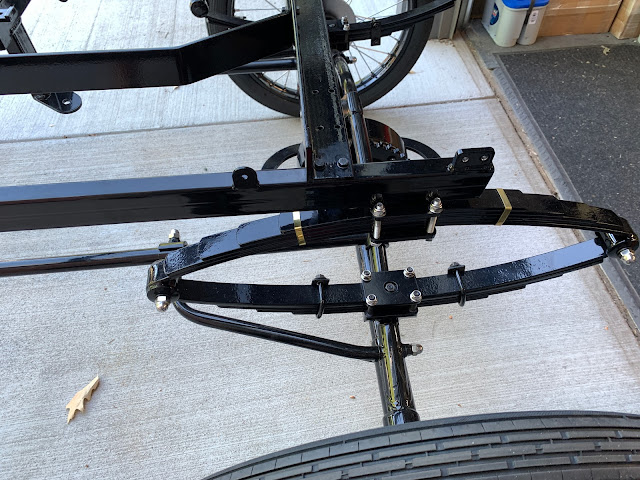
Then we lifted it onto the chassis. Linking up the connection points on the leaf springs.
It was at this point that I looked around for the bolts to mount the frame to the chassis - no where to be found!! Not sure if they were missing in action or just missing. I acquired some stainless-steel replacements from our friends at McMaster-Carr, and proceeded to fasten things together.
I opted for washers and nylock nuts on each stud or bolt. You can also see that I added/changed to nice stainless dome nuts on an protruding studs. This was mostly to avoid tearing my legs up as I crawled around the car in tight quarters. (Plus I think they look pretty good)
Next is the upper portion of the frame - I have a short trip to California to visit some grandkids, and then back to work.
Thanks for reading.
Regards to all,


1 comment:
Well, it does look a bit like a modern version of the Fred Flintstone Mobile, but I have all the confidence you will succeed with this. I am also reminded of you and Bobby Keikaffer and your science fair project. Will you call on him if you get stuck???
Post a Comment
Thank you for posting your thoughts on my build.