The Fuel Tank
The fuel tank mounts "under your feet" sitting on brackets welded to the sides of the frame.
Other than making sure you orient the tank so the small outlet is accessible, there is nothing remarkable about the installation. There is a top filler hole welded into the tank and a nice brass screw-in plug is provided.
STW did not provide a gasket for the screw in cap, I picked one up.
To cut down on possible squeaks, I added some Teflon tape to the tabs before I bolted them down.
The Water Tanks
There are two water tanks. They slide into the spaces on each side of the boiler/engine compartment. It is a tight fit, and some serious "wiggling" may be involved. There are tabs welded to the tanks that engage the frame to hold the tanks from falling thru, but other than that, they are held in place by the weight of the water inside.
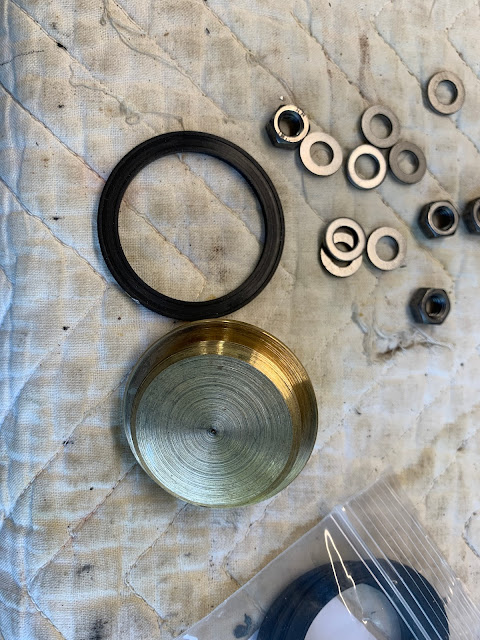
The right hand tank has a filler inlet, about 2.5 inches in diameter. There is a heavy brass tank cap provided. The cap just sits on the inlet, using gravity to hold it.
However, the cap did not fit well enough and I was afraid that it would "pop" off going over a bump.
So I cut off the tabs and looked around for a way to put in an "insert" that the cap would fit tightly on.
A trip to the pantry produces a couple of candidates, the Garbanzo Beans seemed to be the best.
A little trimming to length followed by JBWeld and we have a new throat that the cap fits nice and tight on. The rolled top reinforces the edge and the cap won't be likely to pop off. I actually like the fit better than the original design.
Add some touch up in the paint department and we are good to go.
Thanks for reading,


No comments:
Post a Comment
Thank you for posting your thoughts on my build.