
Differential and Parking Brake
When I first assembled the differential, I was in the fog of "Oh Boy - I Have a Toy to Build". And I really did not understand the relationship between a "key" and the shaft/gear. I was in a hurry, and used a grinding wheel to make the fit on the keys for the main gears in the differential. This resulted in the keys being rounded in one direction. During the last 6 months, I noticed that I had "play" in the wheels back and forth. Now some of this is the connection between the Main Drive gear and the internal gears that allow for the differential to do its job, but it just seemed loose.
Since I had some time to kill, and a minor masochistic streak, I decided to strip it down and replace the keys. In the picture below you can see the 4 keys on the top and one of the new keys on the bottom.

I made sure the keys were nearly an interference fit that needed a little "help" getting into the key-ways. This was the cause of a bit of an issue with the second gear. It is already incredibly tight, and having to wedge the keys in just added to the verbal exclamations during assembly. I also had a chance to add more grease to the mix, better safe than sorry.


Parking Brake
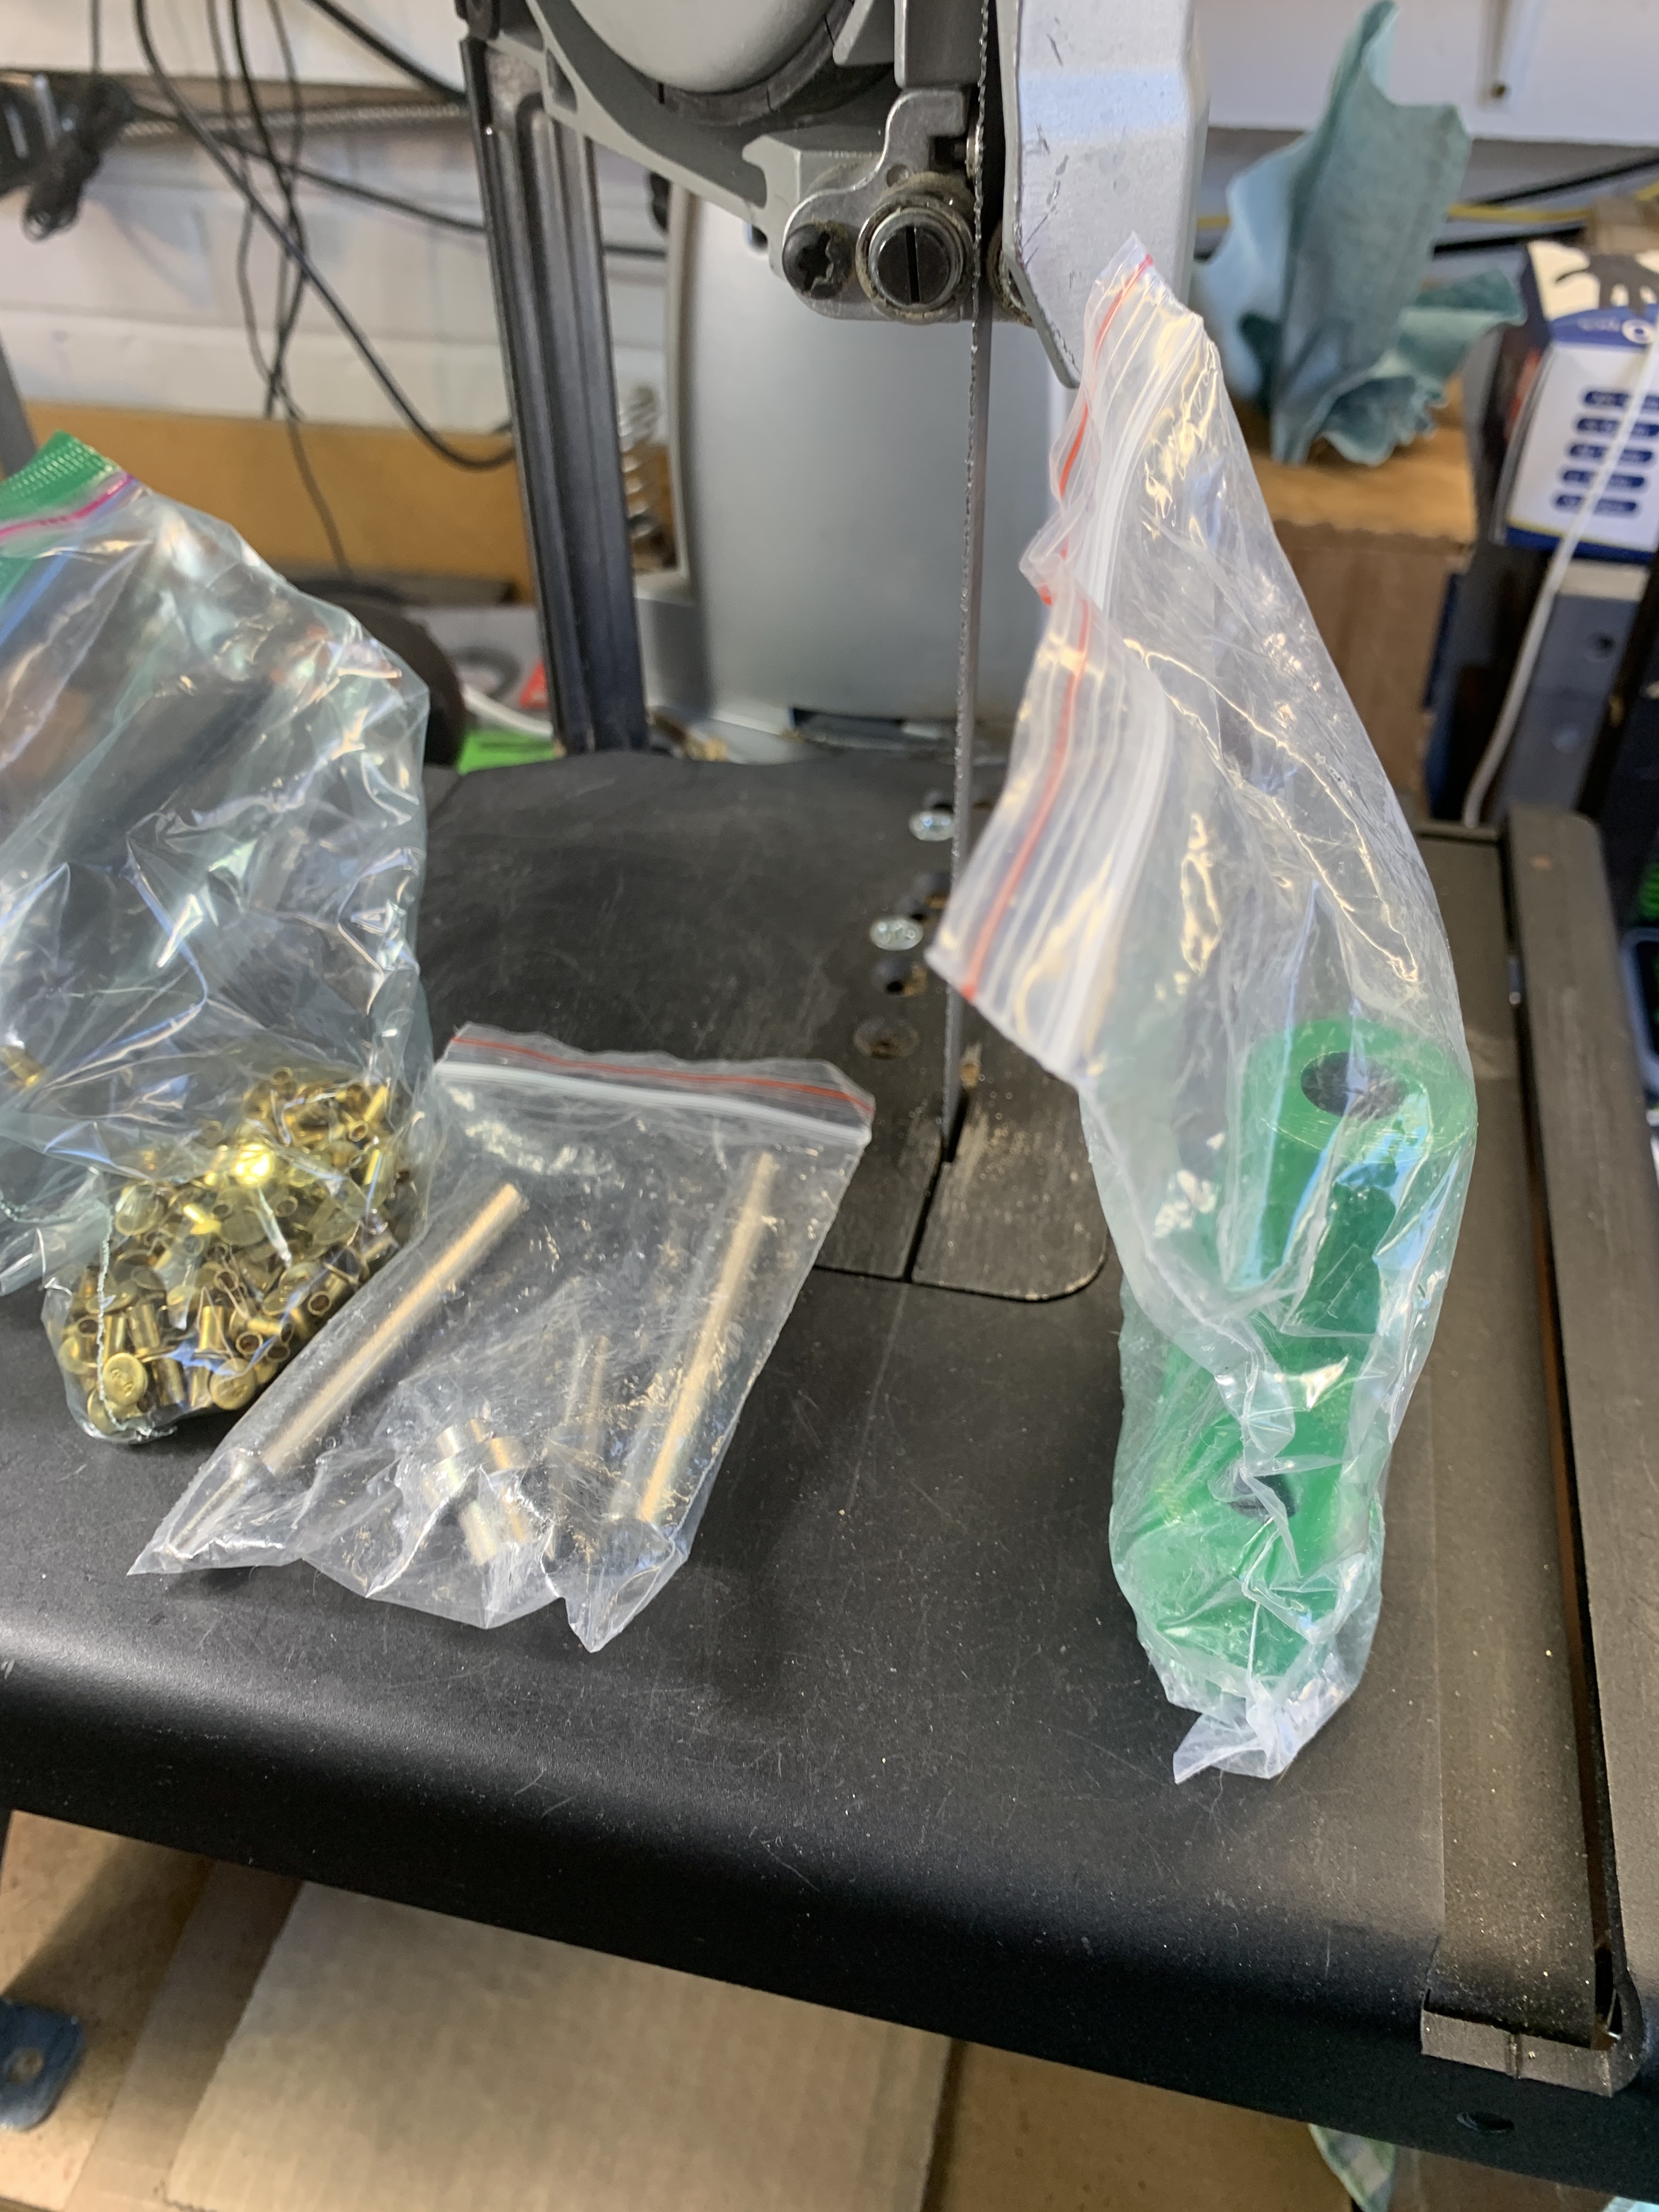
When I disassembled the differential, the parking brake lining had separated from the outside band. The construction adhesive had failed. I had also ignored the advise of others an neglected to rivet the band.
Grier (on his blog) had shown using a Ford Model A rivet set to attach his band. I searched a Ford parts website and picked one up along with a pack of rivets.
The kit has a bit for countersinking the rivet heads below the surface. This made for a very easy job.


The end result of these two days was that I spent the about the same amount of time as I would have when I first assembled the differential and brake, but it has also reinforced the knowledge of how the parts went together.
A VERY MAJOR difference between the Model Engineering / Boat Building world and this one is that in the model world we permanently affix a lot of parts and in the full size world, everything must be able to be disassembled.
No comments:
Post a Comment
Thank you for posting your thoughts on my build.