Kit 2 is the steering linkage, where Kit 5 puts the front wheels on. I decided to do these together after starting on Kit 3 the differential, and running into some issues (Next Post). So since I had the Front End started, I put the wheels together.
Another item under consideration is space. My side of the garage has to hold all my crap. So in order to give myself some breathing space, I have opened the garage door and wheeled the chassis outside. Using the jack-stands on wheels is great when you have a large playing field. However in my case the dolly's tend to be tipsy when running over a concrete expansion joint or similar obstacle. So putting the Front End together first means I only have to juggle the stands still under the rear end/differential.
Kit 2 - Fitting the Stub Axel Assemblies
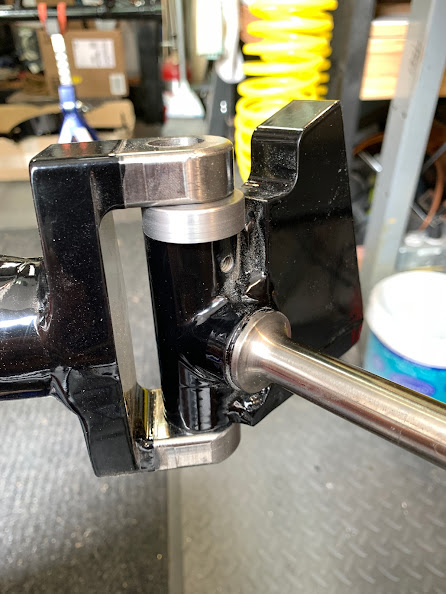
One of the first things you need to do is to fit the Left and Right Stub Axle Assemblies to the Front Steering Yokes. This is fairly straightforward, you just need to get the Stub Axle, Thrust Bearing, and Thrust Bearing Cap to fit between the yokes.
This entails removing material from the LOWER jaw until everything rotates smoothly. In an earlier series of the Lykamobile, the Dust Cap was a little too long and things bound up a bit. You can see from the pic below, that the issue has been corrected. (the assembly is up-side-down)
And when it all comes together:
Steering Linkage
The actual linkage is pretty straightforward, you just have to figure out the right-left hand threads in the adjusters. This is so you can shorten or lengthen the section of the track rod. Everything goes together quickly and individual lock nuts keep it all tight.
All linked up -
Kit 5 - Wheels and Brake Discs
This one was easy, just grease and mount - well, almost.
I have decided to - dry-fit - all parts and groups prior to final assembly. Working from the perspective that it would be beneficial to be able to take things apart and service at some point, the extra time and knowledge seem like a decent investment.
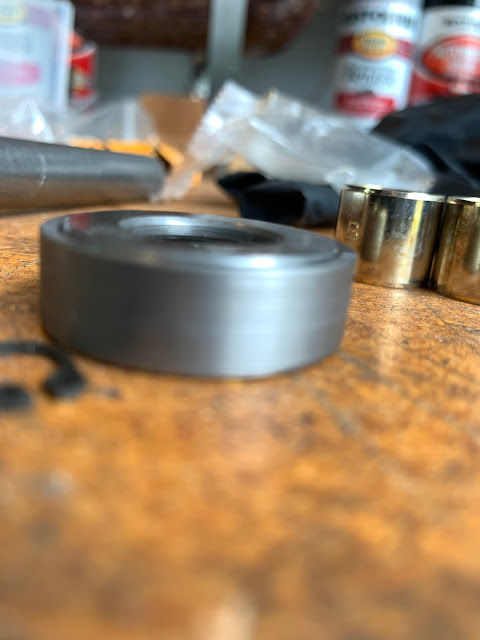
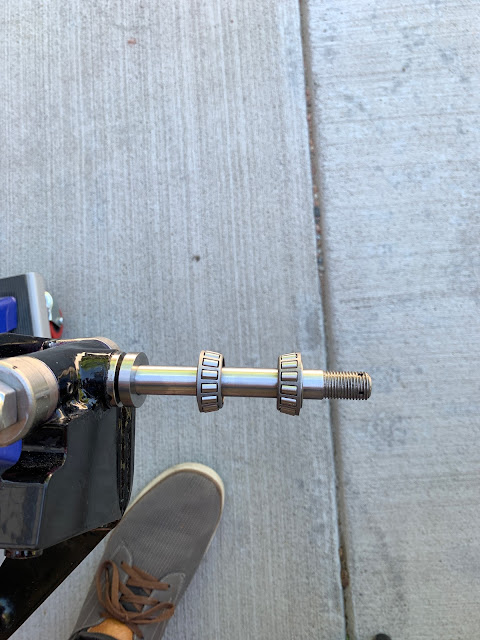
So I laid out all the parts and looked at the ISO drawings to see what went where. The first thing I wanted to try was to see how well the bearings slid onto the axle stubs. I found that the stubs were not "identical" in diameter, but that a few buffs with a strip of emory cloth put things to right and the bearings slid on.
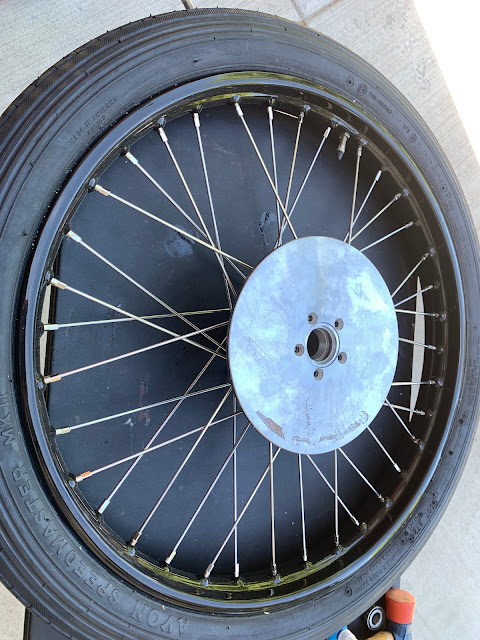
Then I finished the mock up, pulled it all apart and reassembled. Bearing retaining fluid (glue) was used for the outside rings. Then I assembled the brake discs and spacers onto the hub. This time I used some Loctite 243 to secure things.
Loctite243 is a new formulation that is supposed to be less susceptible to minor amounts of contamination. So far it seems to work. But I have not tried to take anything apart yet.
After fitting back to the stub, I noticed that the disc was interfered with by the weld on the Axle.
You can see the wear mark on the edge, the rest is distortion from light hitting the gloss of the powder coat.

A quick hit with the angle grinder and all is well. Gave me a chance to test the reaction to my touch-up paint. I found out that Powder Coat is not paint but a mix of polymers and urethanes. So I was cautioned to try out a touch-up method in a small spot before going to big.


No comments:
Post a Comment
Thank you for posting your thoughts on my build.