
Kit 3 - The Differential
I read the instructions for this one about a dozen times along with the description in Grier's Blog. I was a little intimidated by the prospect, but in reality it was not so bad. I had sent the differential casing out to the powder coater and they did an excellent job with just the rough sections on the outside. Everything was nicely sandblasted and cleaned up.
I started with the smaller gears, inserting the bushings, fitted the arbors, and checked how each would go into the casings.


After the initial fooling around with the smaller gears, I unwrapped the
axles and started to look at the pieces that would fit on them. It is
lucky I did, most of the pieces would not slide onto the axle to the
place where they belonged. This sparked a flurry of activity organizing
the bearings, bushings, Drive adapters, etc. Each was tested in any of
the possible locations, and the best combinations identified. Then I
proceeded to go thru a boatload of emery paper (off a roll). spent about
4 hours buffing back and forth until the pieces slid on. In most cases
the piece would slide on and then stick about 1/4inch from the end.


Nothing a lot of "elbow grease" wouldn't take care of. I did the bearings and then both of the drive adapters that are part of Kit 4. I also needed to fit the various keys in the shafts and keyways, cleaning up the broach marks and easing the slide fit a bit in each.
In the end, I had to remind myself that the whole thing needed to be able to be maintained. That meant taken apart and put back together. So not having the fit correct at the beginning would cause a major amount of pain in my backside if I had put things together and then had to work on an axle.

Once I made sure all the parts would slide to where they belonged, I worked on the large spur gears.
These fit nicely on the end of the axle, and with the bushes and arbors fit very nicely into the case. I could rotate the case and the wheels followed suit. The nuts on the axle ends were pretty tricky to put on, but I used a very thin pair of vice-grips and a small screw driver as a wedge.

However, in the final assembly, there is a spring/lockwasher under each nut making things just a little more tricky.


The process requires you to have a comfortable place to sit while you calmly pinch your fingers trying to get the nut to start. Eventually you get it and it tightens up very nicely.
Only to reach over and grab the drive gear. Then realize that there is something wrong with "This Picture":

Well, I did say you have to be able to take it apart for maintenance, so practice makes perfect.
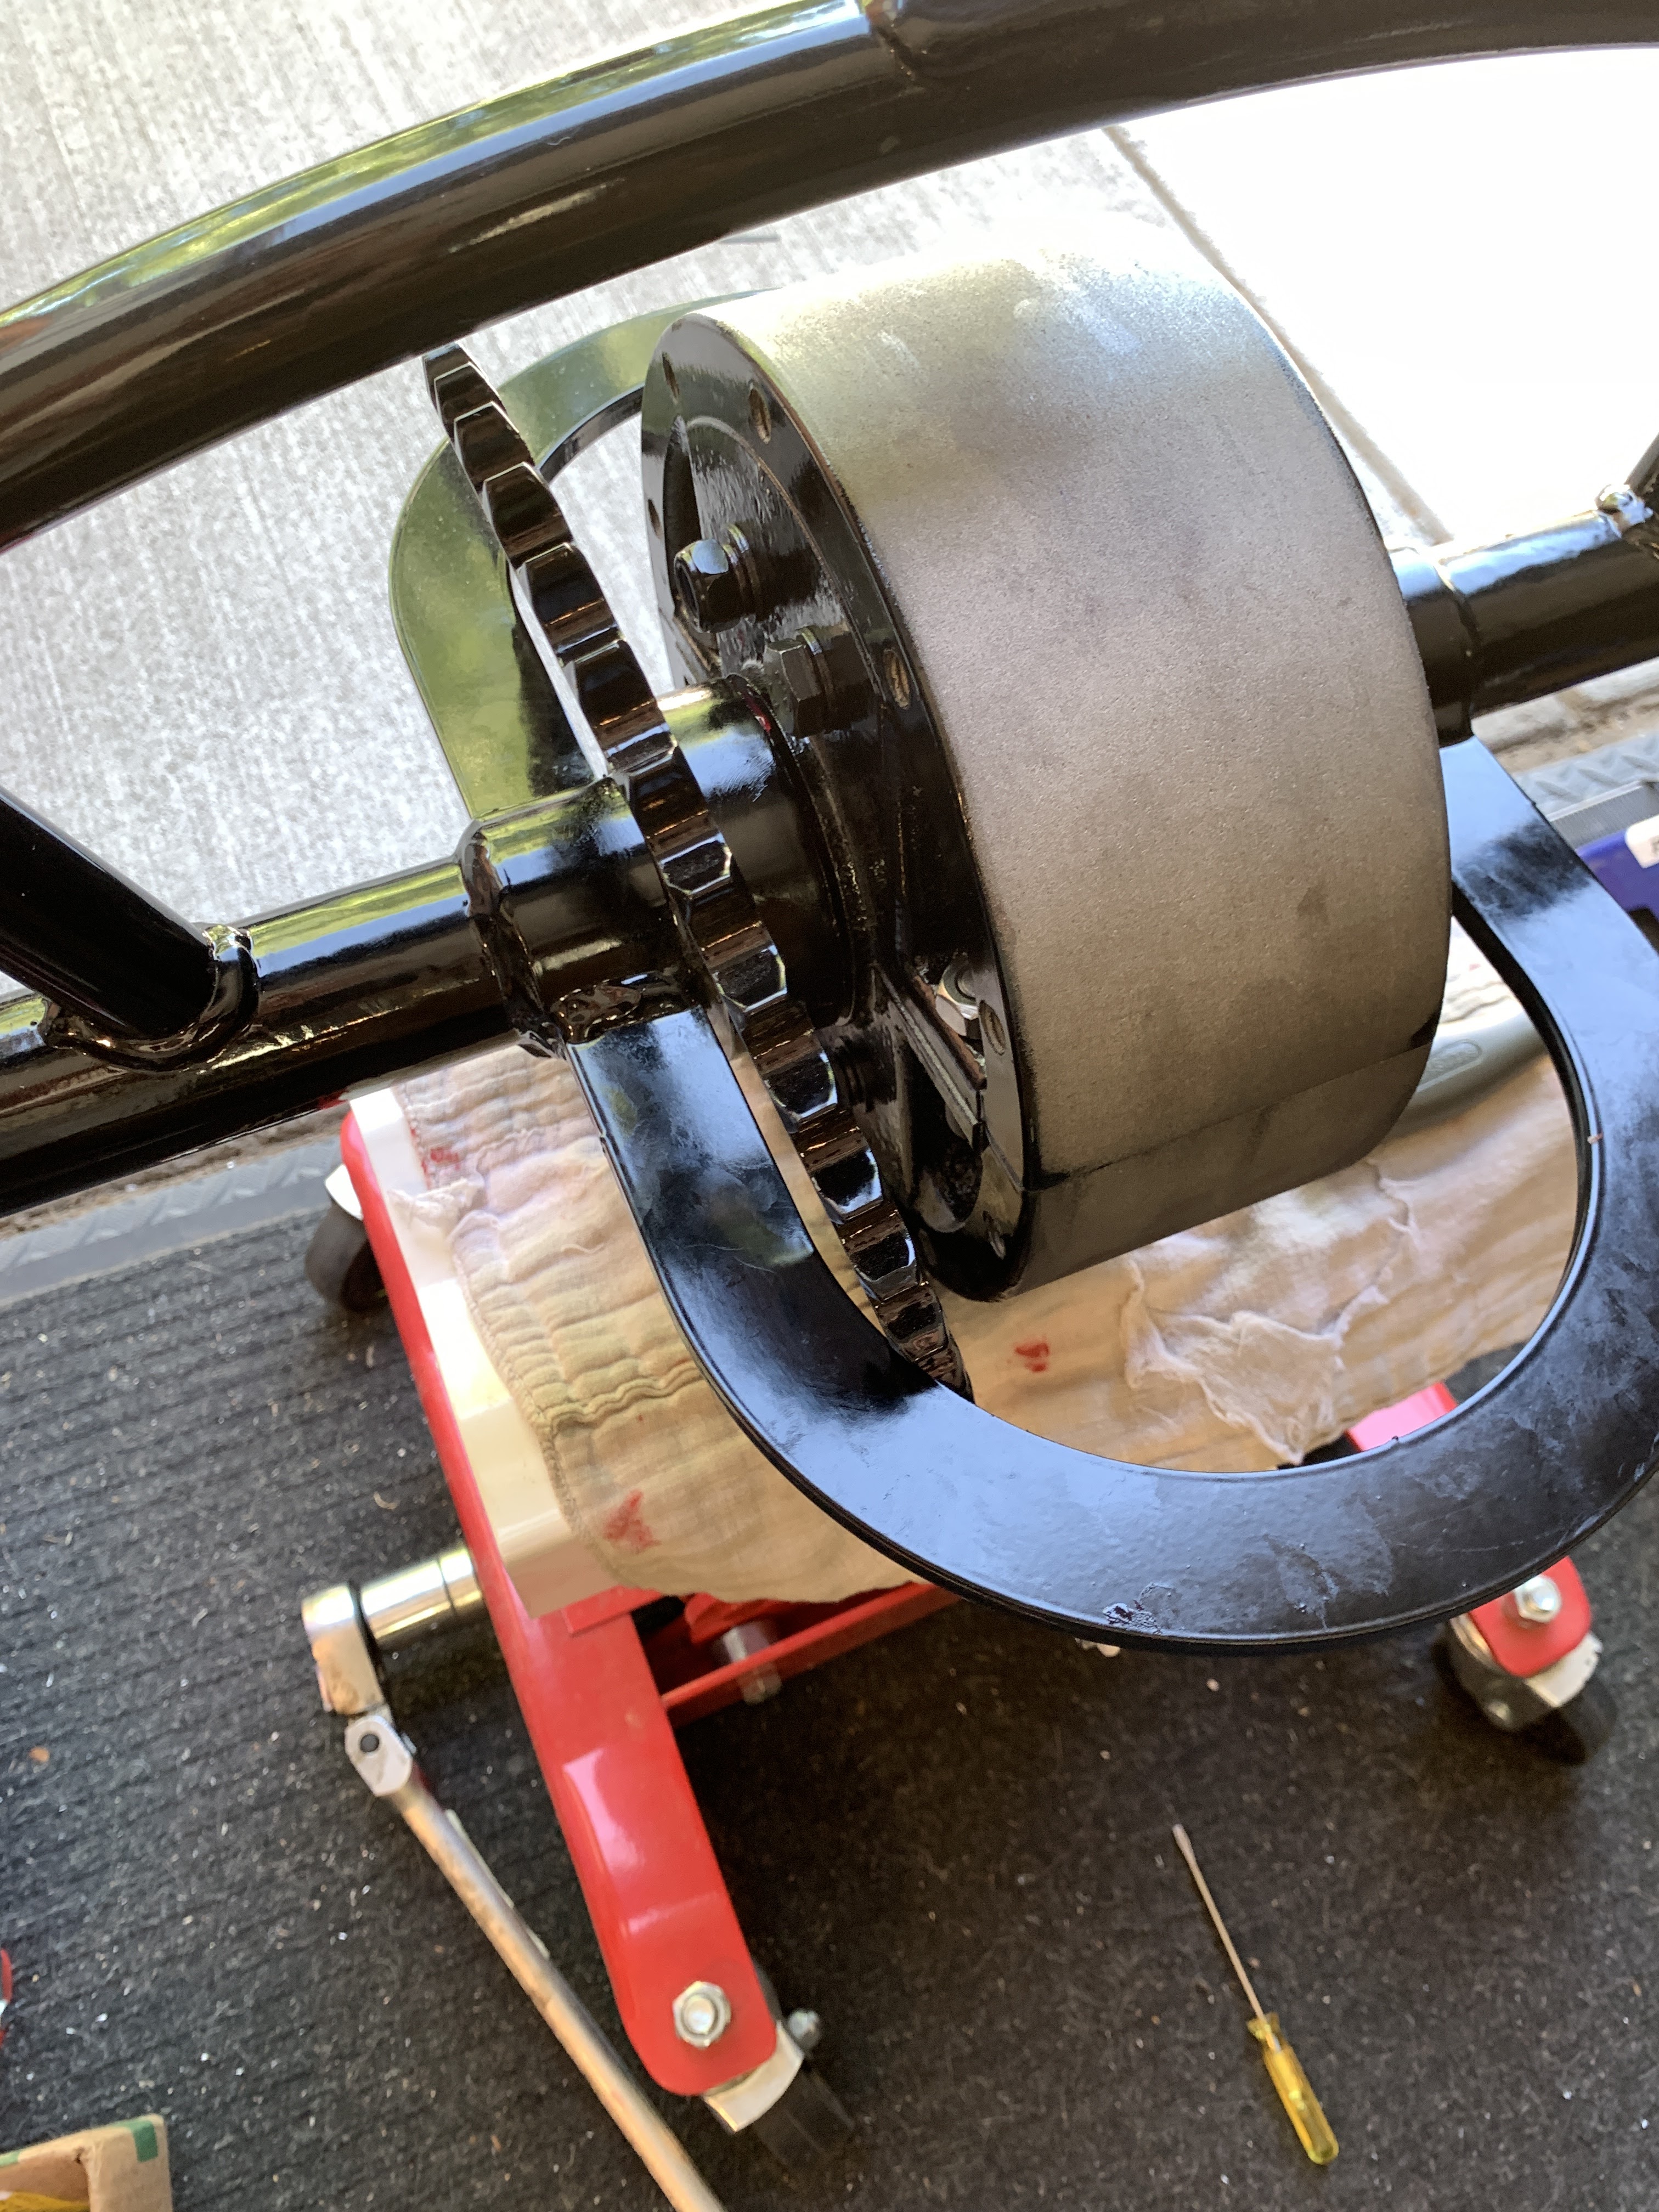

The RED bolt is the "oiler - hole" that goes all the way into the case to allow for you to squirt in more grease or heavy oil.
Kit 4 - The Rear Wheels
Since I had taken the time to slide fit all the components, putting the wheels on was easy. just greased everything up and slid it all together.
It actually went so fast that I forgot to take a bunch of pictures. Just one showing how I marked the keys once I got them in the "right" slots and ready to go.


So that it for the wheels and drive system. Next is the leaf springs and brake calipers. The chassis is now able to be wheeled in and out of the garage easily. The jack stands were nice but a pain when you were working solo.
Thanks for reading.
No comments:
Post a Comment
Thank you for posting your thoughts on my build.