
A departure from the Kit Centric approach
Let me explain. Steam Traction World (STW) has developed an approach to vehicle building that allows the hobbyist to cruise along at a steady pace, spending time on each kit until the vehicle is complete. In general this works because the kits all build upon each other. First you have the frame and you put the wheels on followed by the engine and finishing up with the body.
Makes sense, right?
Well this approach does work because the persons breaking the overall project into kits understand how each part fits with all the rest. Except perhaps with the Lyka.
I have had an advantage over the other Lyka builders. Over the last couple of years I have had the friendship of Dean, the Director of Steam Traction World. He put up with my frustrations over delays, and communicated a lot on his side of the story over his departure from STW. Dean also made me aware of the kit status beyond the "Where the hell is my boiler?" conversations we had. As a result, I have the inventory lists for all the kits, and knew in advance what parts might be delayed when I got my shipment.
I found that the individual content lists for Kits 21 and 22 were a best taken as a combination. So I combined them. Then I looked at the process of assembly from a slightly different perspective.
I know that the work on the Lyka will get more and more tight and difficult once the boiler and sheet metal are installed. So I have started to work on the prep of the pipe runs by attaching the various elbows and flare adapters on the engine first. Then I will stage the pipe work while it easy to lean into the chassis. Once I get a chance to stage the parts, I will disassemble to allow the insertion of the boiler, heat shield, smoke hood and burner. Then hook things up again and move on.
FLITTING FROM TASK TO TASK
Steps
One thing missing were the steps. There is a step on each side of the Lyka. The mounting holes are provided in the frame.

I picked up a couple of 1/2 inch mild steel rods. I wanted to thread one end first before any other operations were performed.

Then I went over to my favorite metal fabricator, "Hardy and Fuller, a metal space" they are located in an industrial area near me and have most any metalworking tools I might need if I do not have them already.
My grandson, Miles, was in town visiting, so he came along to supervise. Safety First, have to get suited up to get close to Plasma Cutters and observe welding.

Ashe, the owner and fabricator, cuts the plate using a CNC Plasma cutter.

Welding the posts to the plates. My hands are not steady enough, so back to the experts.

And the final results on the Lyka.

With the non-slip diamond plate glued on.

The Heat Shield and Smoke Hood
One of the first steps is to fit the pipework to the boiler and then pre-fit the lower heat shield. Once the lower bits are in place and aligned, the assembled lower shield can be set aside for the moment.

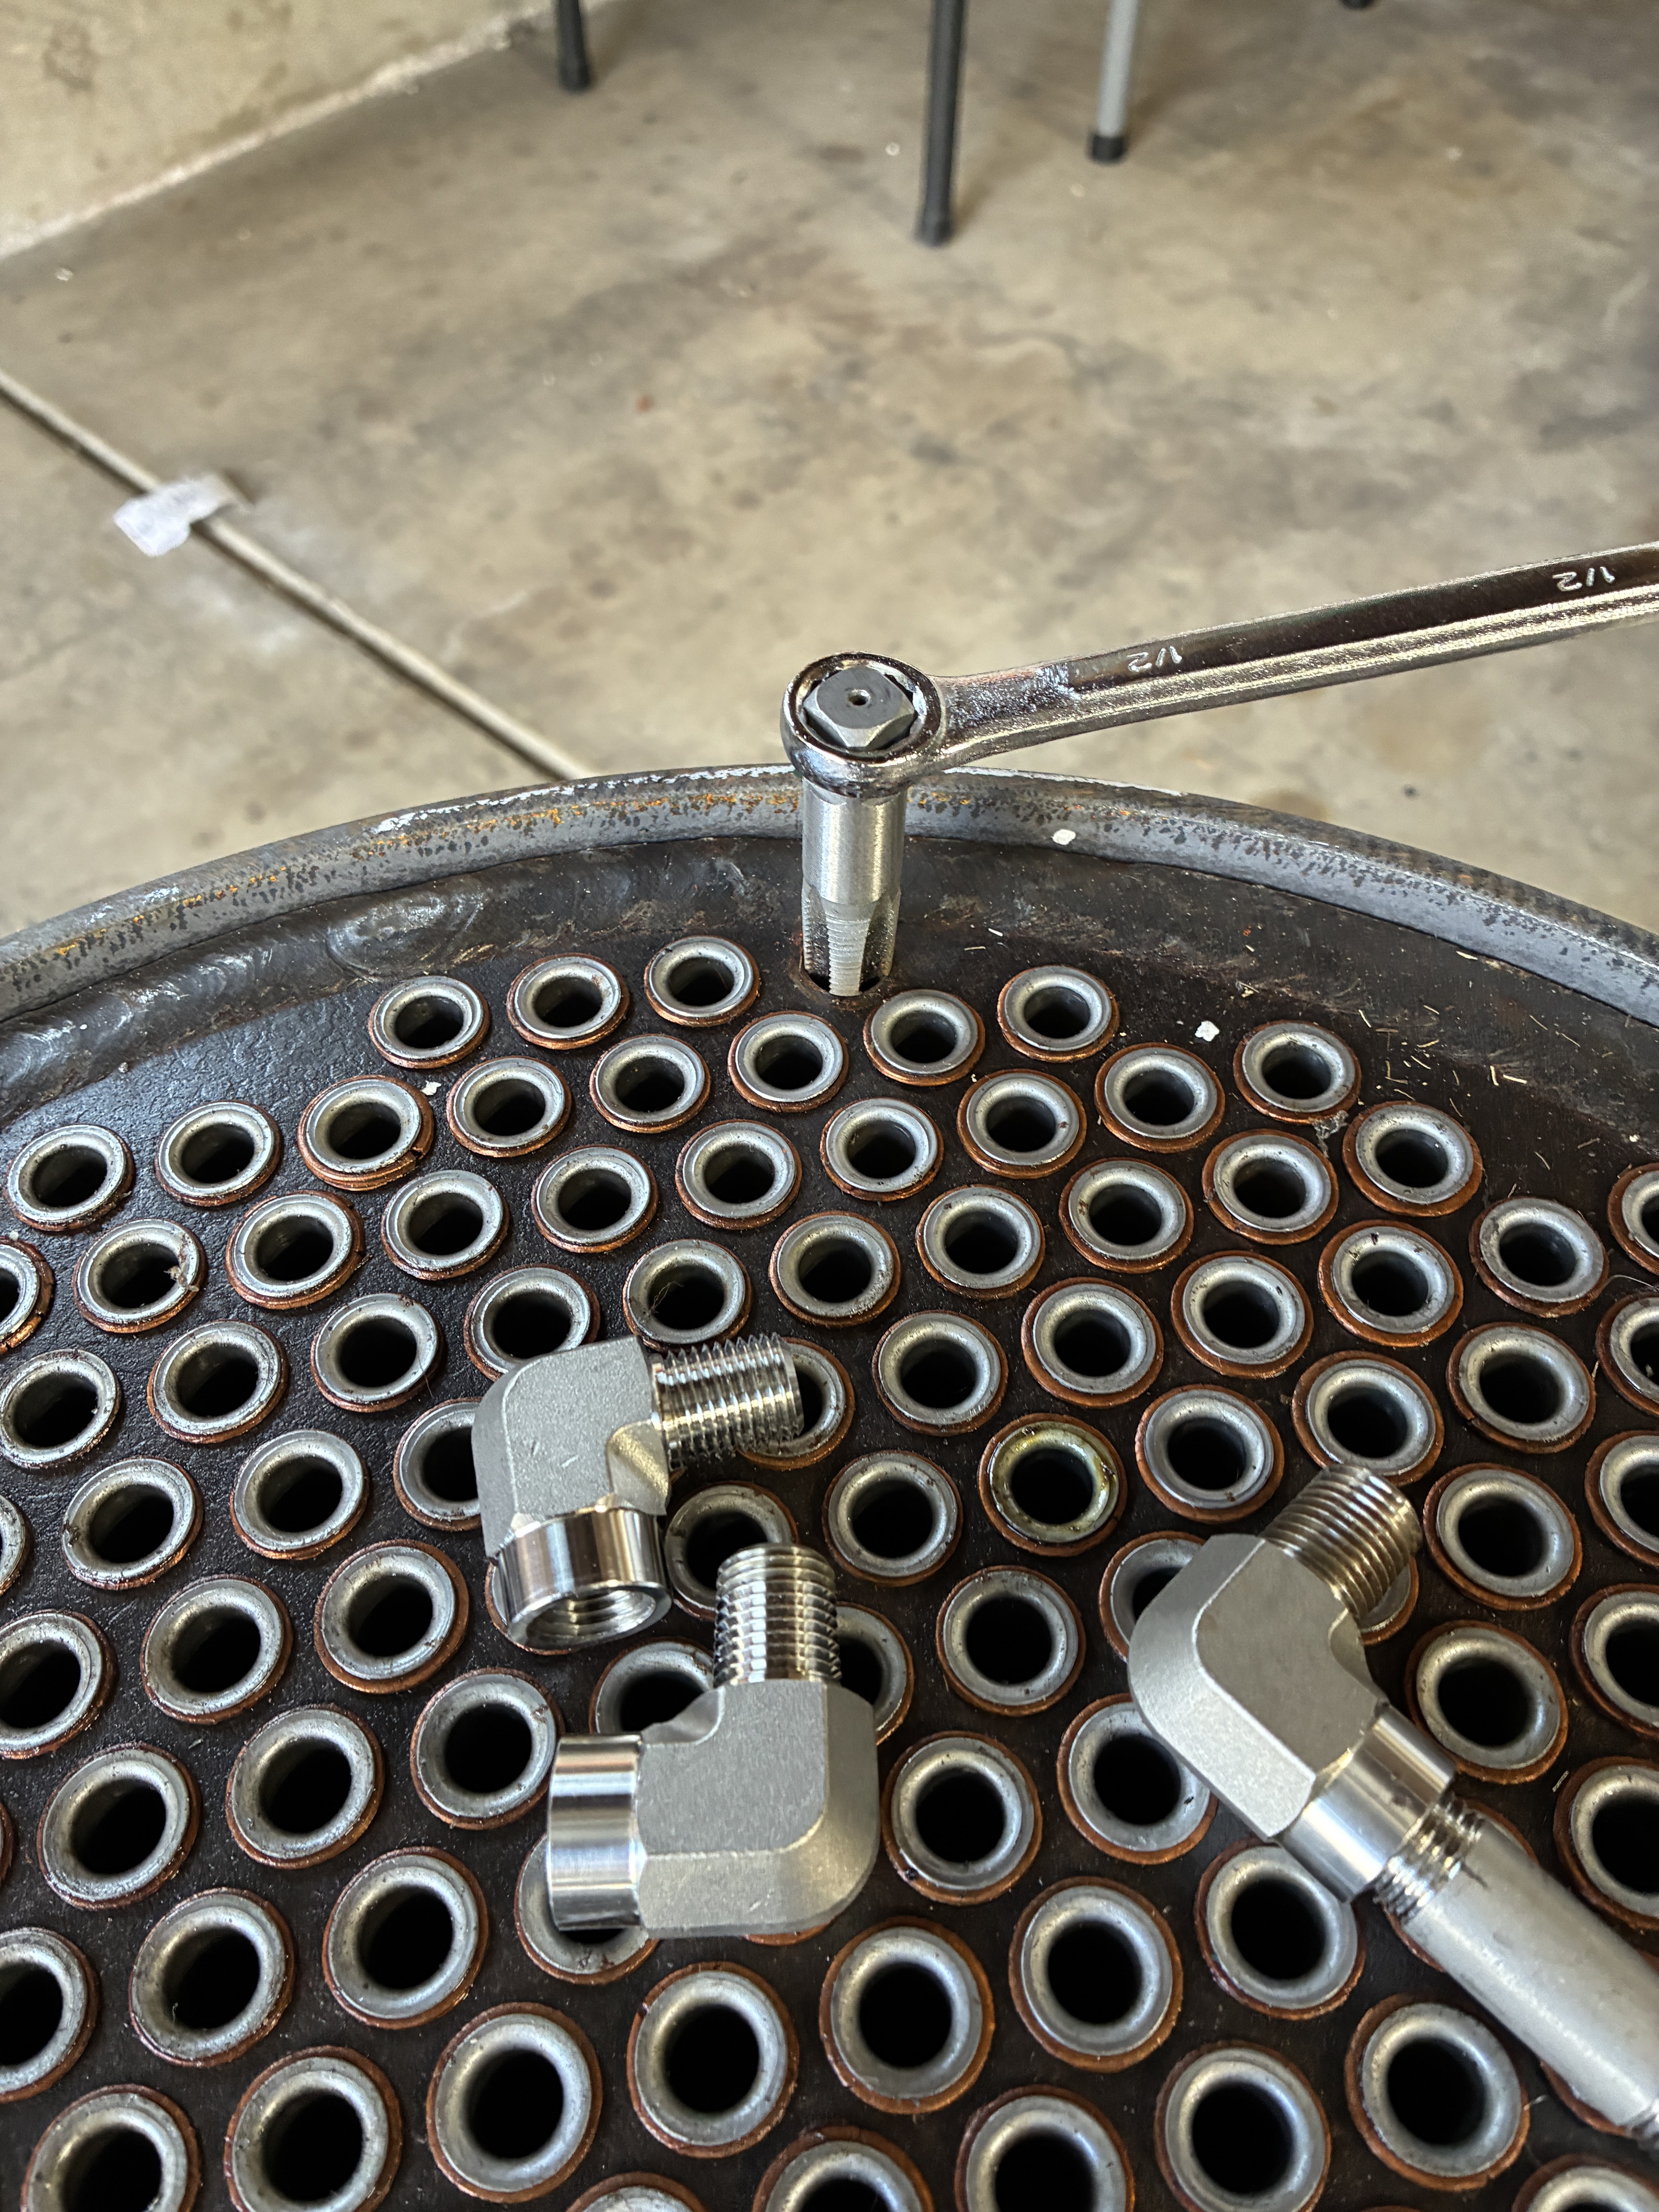
Starting on the bottom of the boiler I fit the appropriate Ells (elbows) to the pre-tapped holes. There was some leftover goop from the plugs used during the pressure testing, so I used a tap to clean the threads.
Then I fit each ell in place, using the inner shield to position the attached nipples. As this was going to be permanent once aligned, then fit the inner and outer shield to make sure once more before the cement hardens. I am using X-Pando, a slightly more aggressive steam and thread sealer, to lock everything in place. I had to grind a bit out of the slots to tweak the fit, but it is now stable.


Next I need to fit the top and bottom heat shield together with insulating superwool between the pieces. There are small spacers to keep the 1/2 shells apart.

 |
| However STW forgot to drill the holes for the spacers. |
 |
| When clamping the two parts together I found that the bend was slightly out of wack. |
 | |
| Ended up with some superwool sandwiched between the pieces, no flame leaks. | |
Here is the final assembly of the bottom flame shield. All ready to go into the frame.

The Smoke Hood
The Smoke Hood is just two assemblies that fit one inside the other. There is a layer of superwool between them and they are held apart by spacers.
In the same manner as the boiler bottom, the top gets fitted with elbows. There are 4.

The long pipe out the center is the main steam outlet. It will be routed to the steam regulator (accelerator) and the safety valve. The others are for the sight glass, water in-fill and the steam switch and pressure gauge.
Planning for the installation.
In preparation for the boiler installation, I have to give some thought to the fact that the boiler is over 150lbs. Not something you can just heft up and drop into the car chassis. So a lifting mechanism will be needed. I chose a chain hoist, I showed it back when I installed the engine, to lift the boiler while I roll the car back under the hoist. To lift it, I fashioned a "T" from black pipe. This will screw into the center port. I will attache the exit pipe after the boiler is in and stable.

But first, finish up the smoke hood.
The inner hood gets fitted tight against the barrel of the boiler. There are slots for the protruding pipe pieces.

There was a little widening of some of the slots. Then the two parts fitted together. I switched the black bolts out for stainless and added some washers.


So the boiler is staged and ready to drop into the chassis. However, before I do that, I am going to stage each subsystem. Making sure I have all the pieces, adjusting for parts I have swapped out, and making sure I can see how things will attach.
No comments:
Post a Comment
Thank you for posting your thoughts on my build.