
Final Finishing
After the fitting of all the bits and bobs to the body panels, now is the time to apply the final finishes.
As I have said in earlier posts, I am using a special type of epoxy to seal the wood, build up to a smooth base, and strengthen the panel to stand up to it future lifetime. The epoxy has a high amount of solvents so it penetrates deep into the wood fibers. It takes about three coats to build up to a smooth level. This is followed by power sanding with 80, 120, 220, 350, 400 grit dry paper and then finishing up by hand with 400, 600, 800 wet paper.
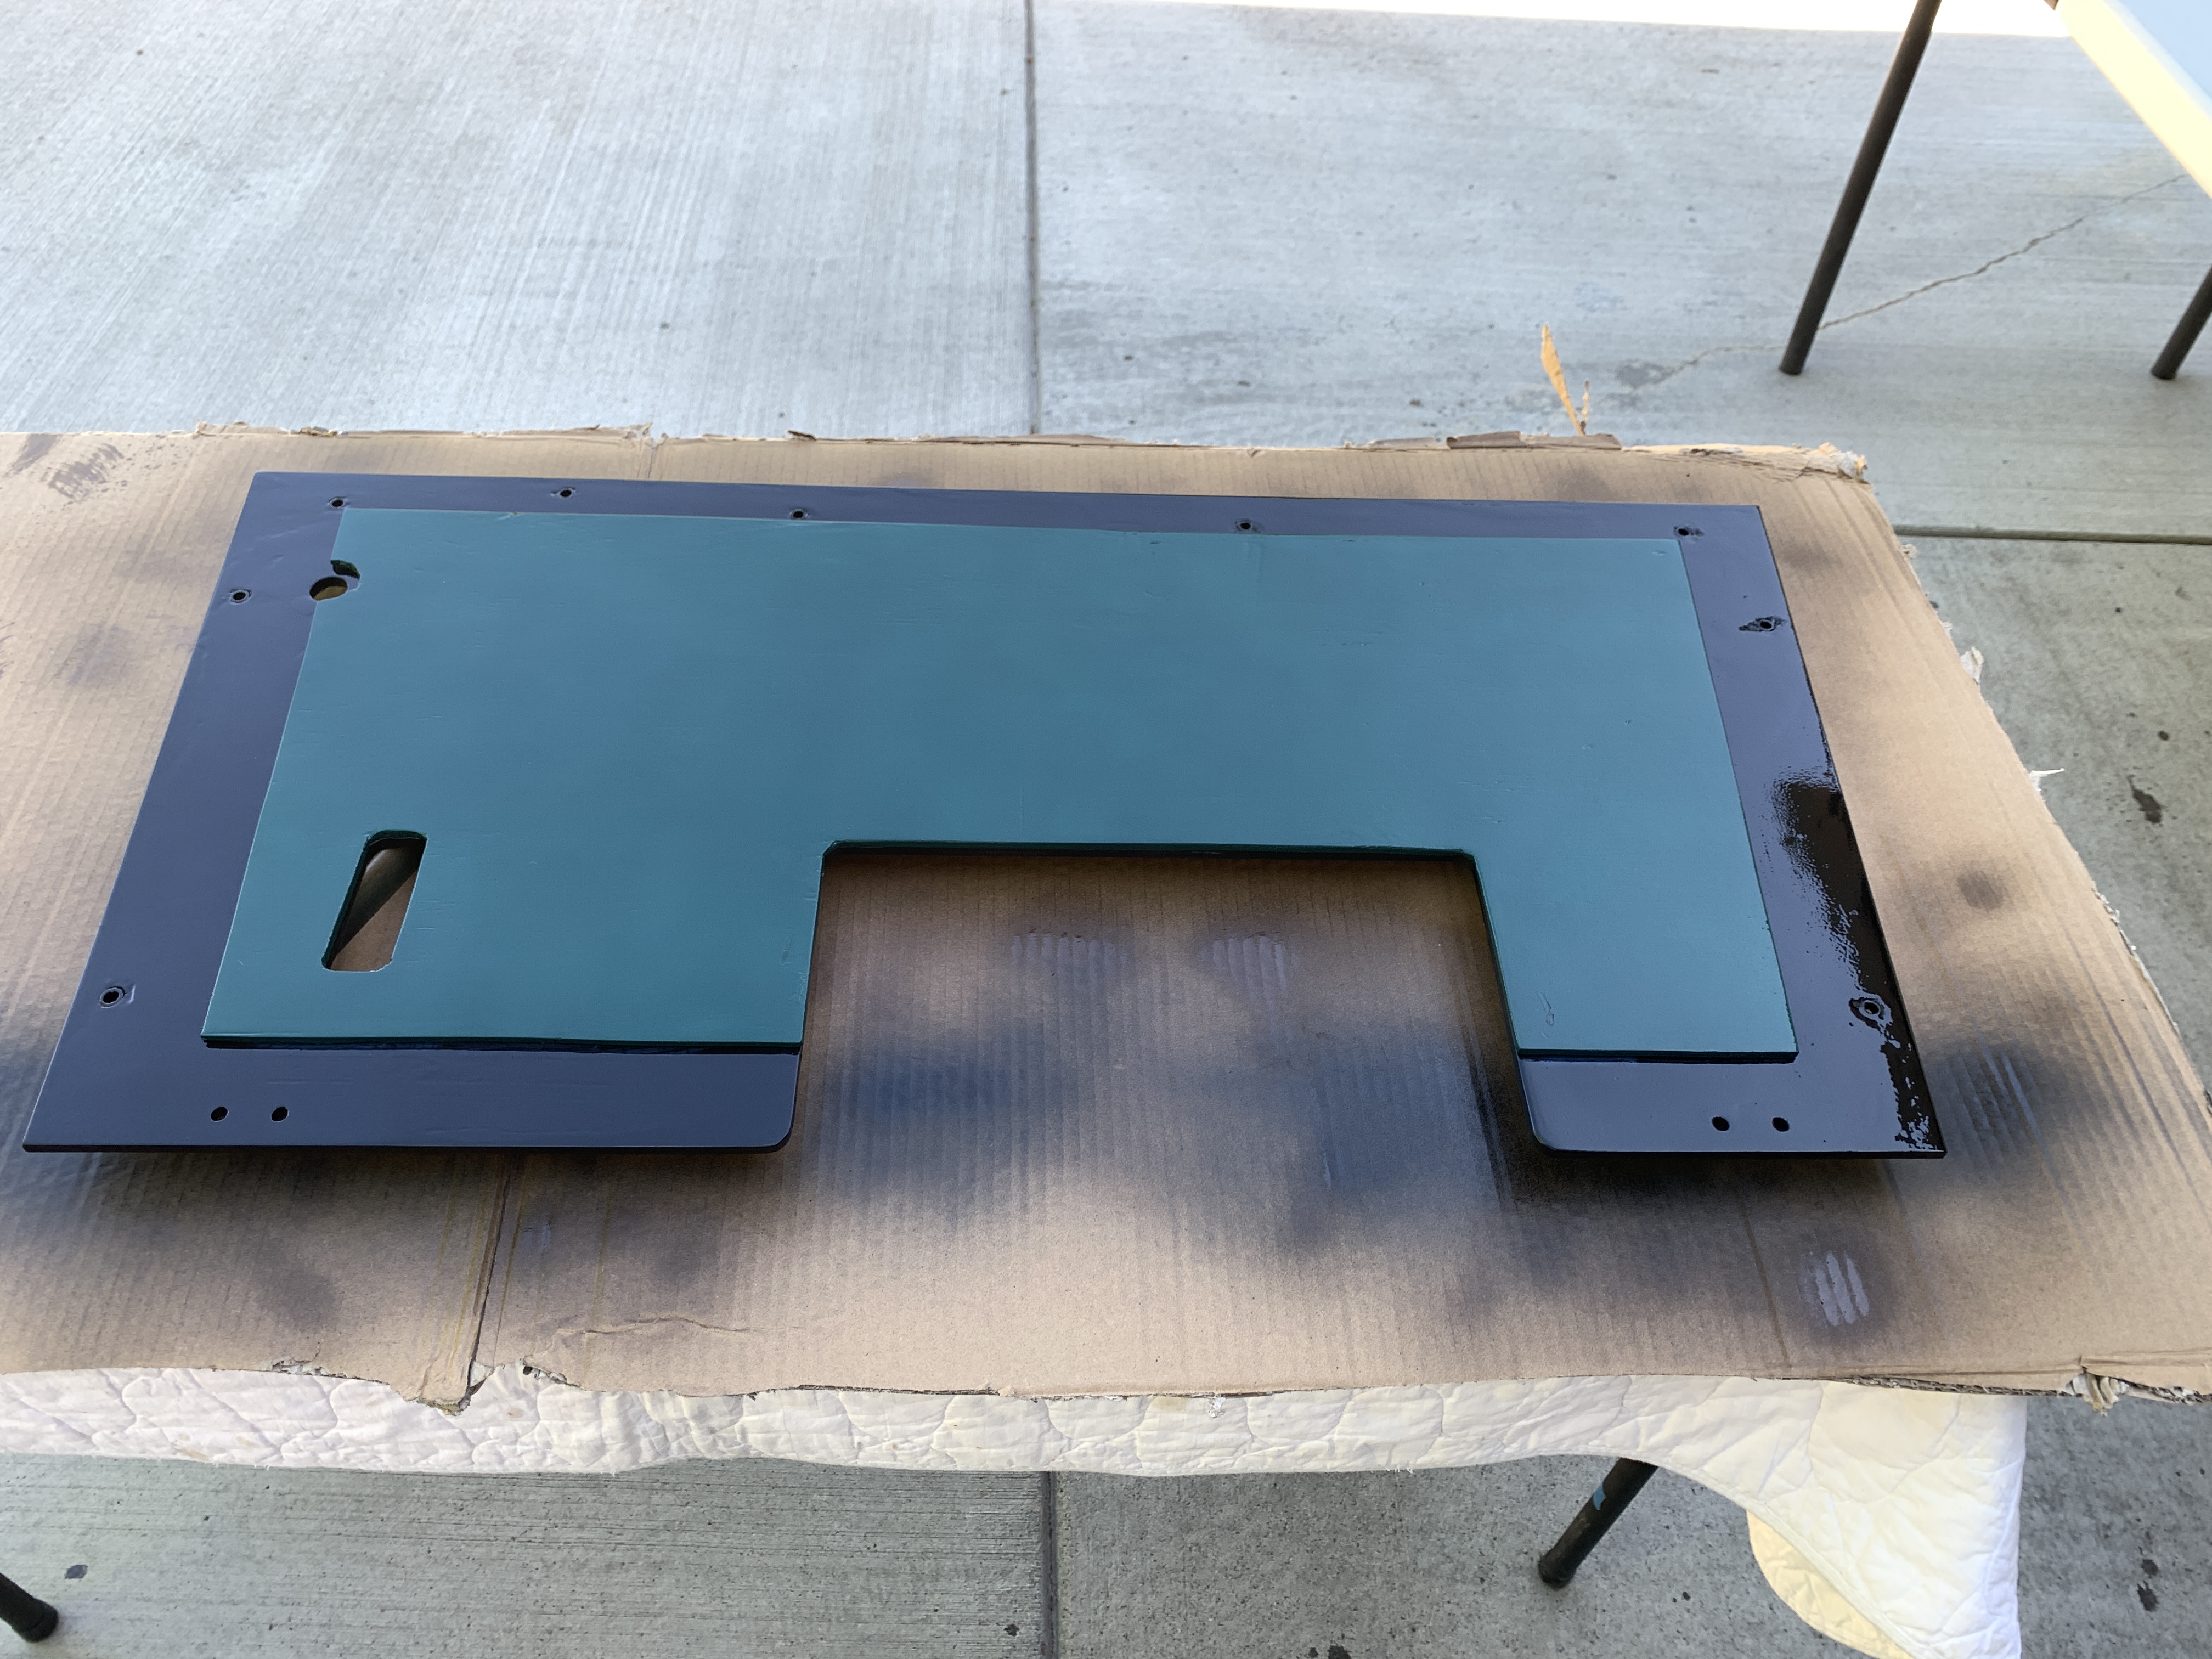
I am using a combination of paints. For the Gloss Black I am using a Rustoleum Automotive Gloss Black followed by a Rustoleum Automotive Gloss Clear. For the Green Panels and Louvers, I am painting those British Racing Green (BRG) - The actual color of BRG seems to vary a little, and in some paint palettes it is also knows as Brewster Green, Hunter Green, Deep Green. So in order to keep my sanity, I chose the Dupli-Color BRG that was a ceramic based engine paint. This allows me to use it on engine parts as well as the flat panels pieces. I need to let it cure a bit, but afterwards, I can use the Rustoleum Clear Coat to complete the process.


The "inside" surfaces are getting the same treatment, except I stopped the sanding at 320 Grit. I want a thick epoxy coat followed by a couple of coats of Black and Clear. However, I am not going to be real anal about the look. It needs to protect the wood from steam and dirt.
Laying Out the Louvers
Before I put on the final coats, I need to finish the layout of the Louvers. I covered the initial shaping some time ago, but now I need to lay them out and cut them to final shape.

I had found some early drawings of the Locomobile side panels on another blog. It gave the original dimensions. Since there are a few differences in our panels, I used these as a guide. I measured the distances from the ends, and made the louver pieces the appropriate length.


After trimming the pieces on my bandsaw, I touched up the paint and shot a final coat of clear.

Top and Back Panels
The top panels go first, followed by the back panel. Three coats of Gloss Black, 2 coats of Gloss Clear.
On the back panel I used the primer-epoxy as a glue, laminating everything together.


Side Panels
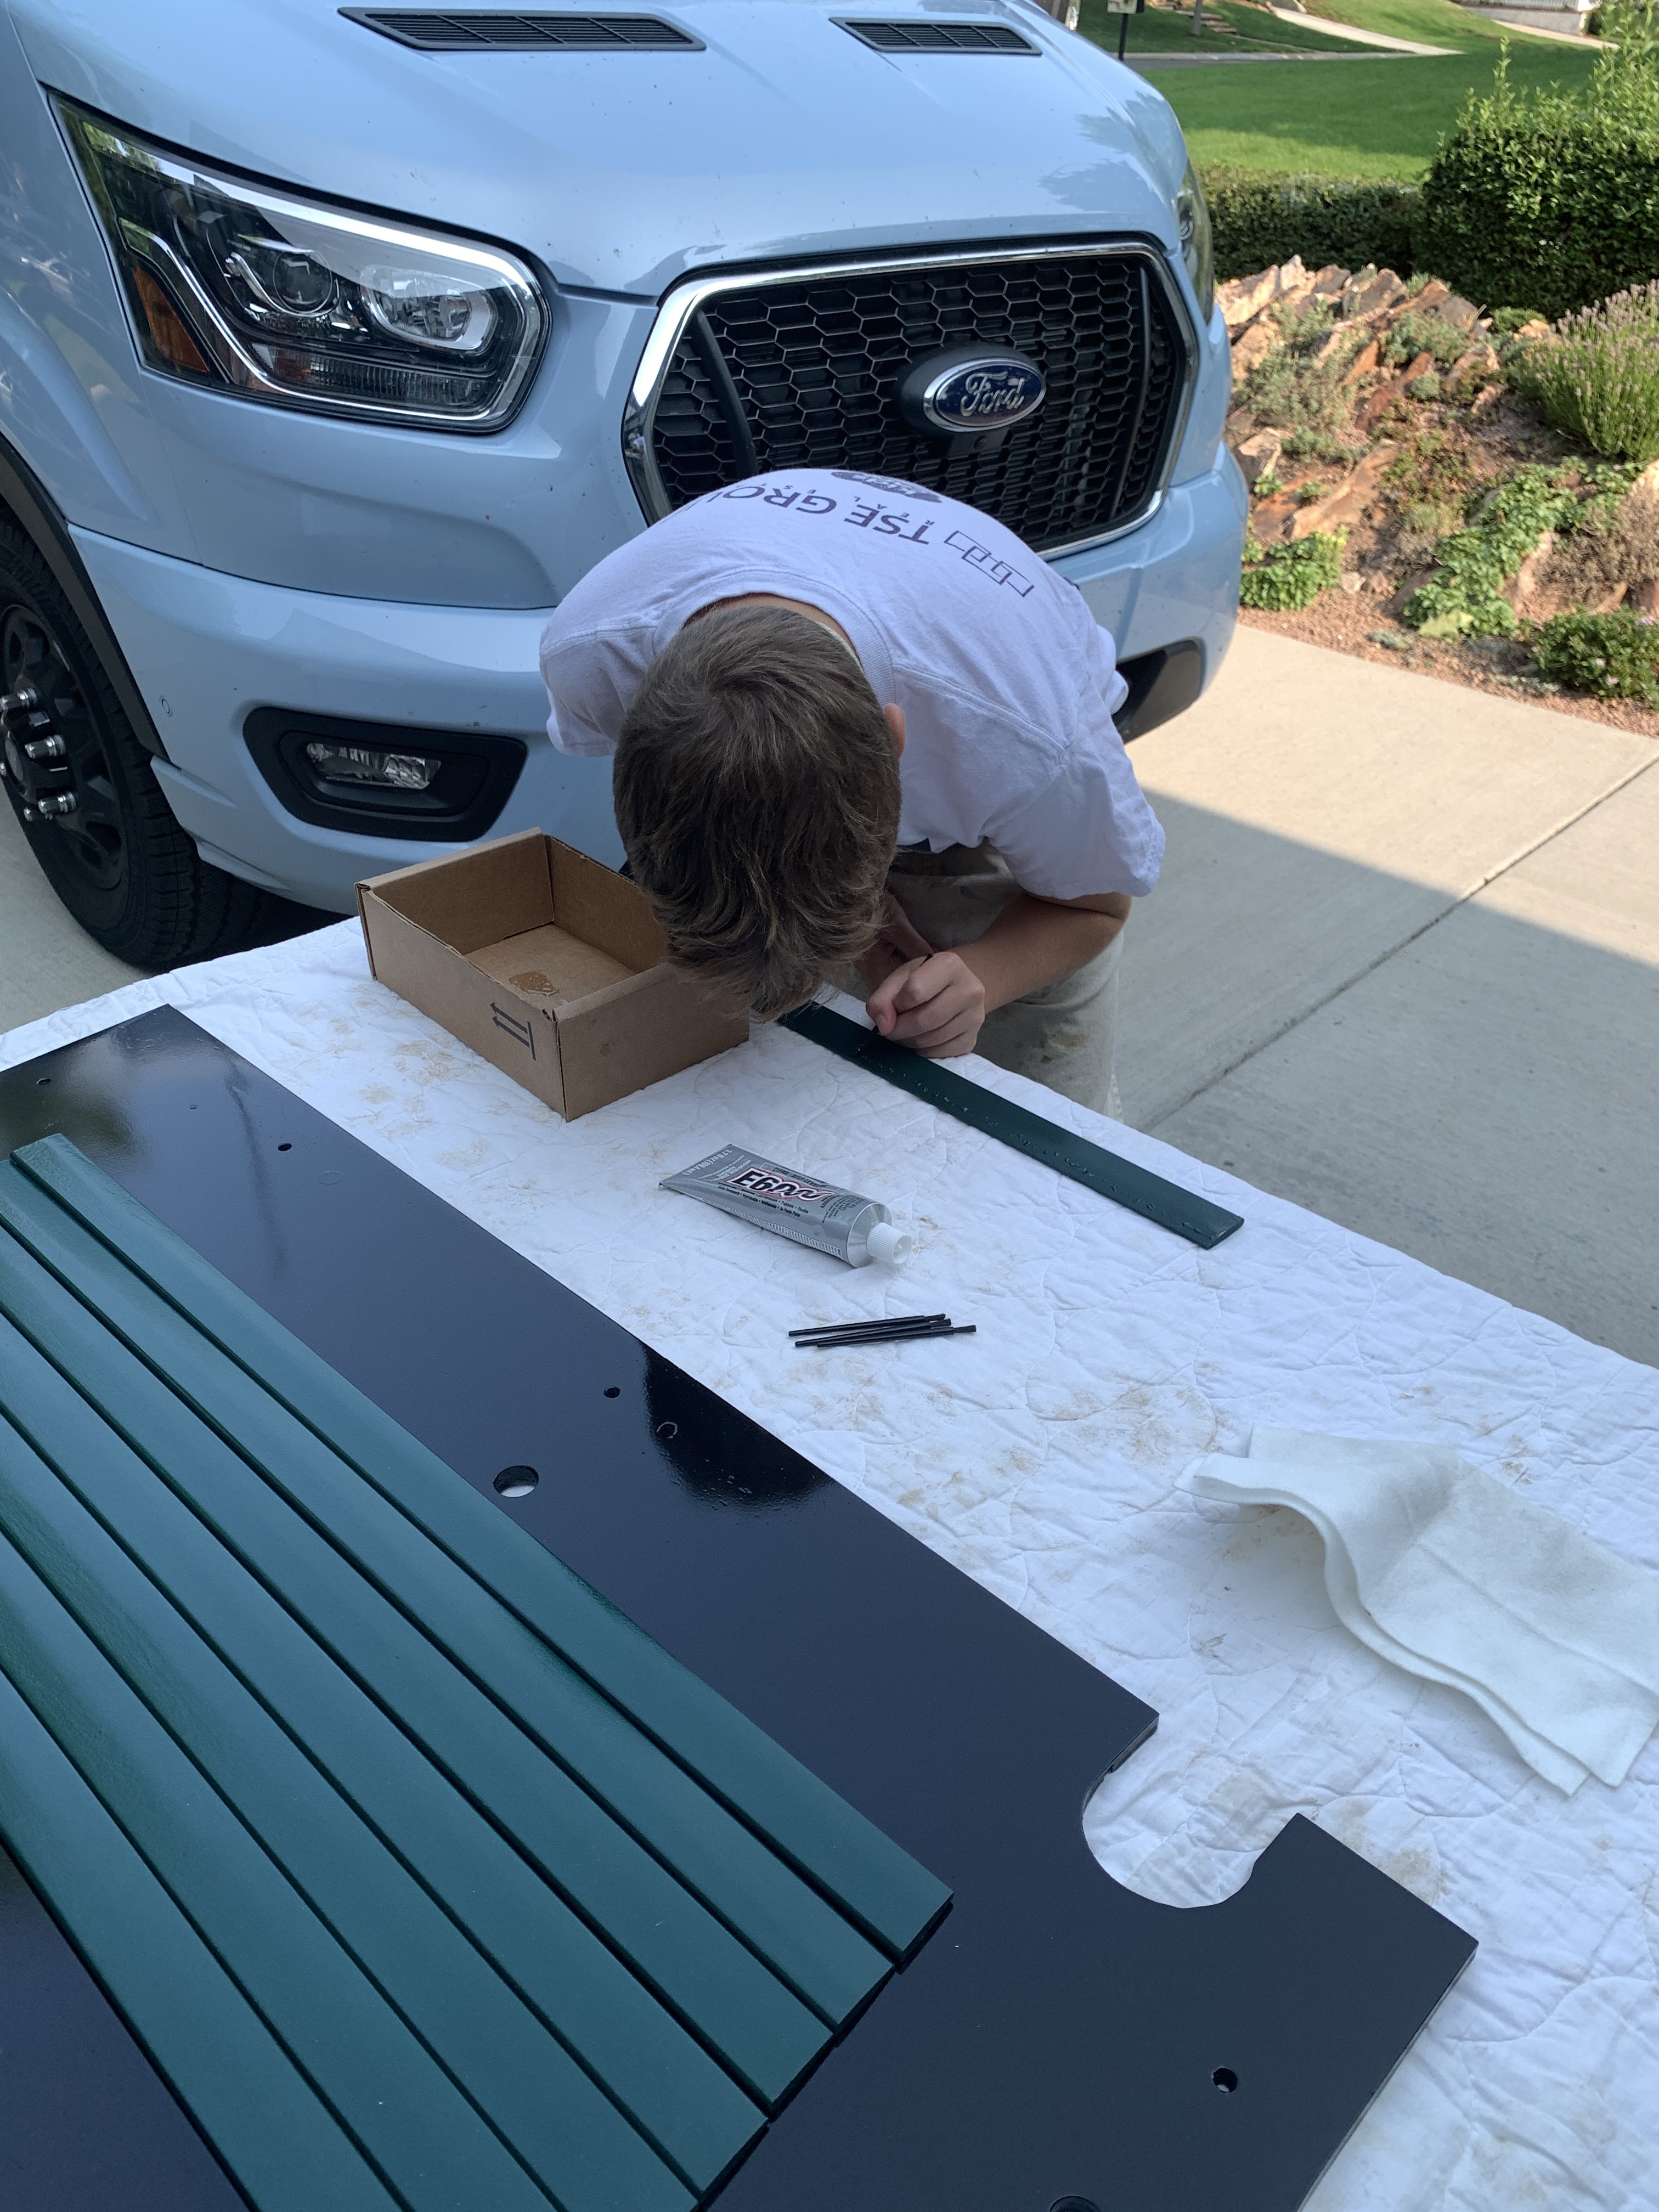
Black first, then added the louvers. To attach the louvers I had a helper. Grandson Miles came from California for a couple of weeks and has been lending a hand. We worked out a glue method where he applied a string-of-pearls (small gobs of glue) to the upper edge of each louver. Then we used a pin nailer to hold the louver in place while the glue set up. The end results looks pretty good.


Final stage at this point is to mount everything and then attach the brass banding. So here is the look:


Thanks for reading,